


What is a PWA?
PWA or Progressive Web Applications stand in-between web applications and native applications. PWAs offer the reliability and capabilities of a native app, combined with the flexibility of modern web applications.
Like native apps, PWAs are installable and can be downloaded directly from the browser or PWA stores.
Why PWA?
PWAs promise performance. They work regardless of network connection, load faster. In fact, if the load time goes from 1 second to 10, the probability of a user bouncing increases by 123%. Twitter experienced a 20% decrease in bounce rate and a whopping 75% increase in tweets after building Twitter Lite - a PWA. You can read more about the case study here.
How To Make My React App - a PWA
In order to make your web app compatible for installation, it has to tick all the checkmarks in Google's Lighthouse report for a Progressive Web App. To generate your Lighthouse report, follow these steps -
- Open the Chome Developer Tools by pressing Ctrl + Shift + I or open it manually.
- Navigate to the Lighthouse tab.
- Select Progressive Web App.
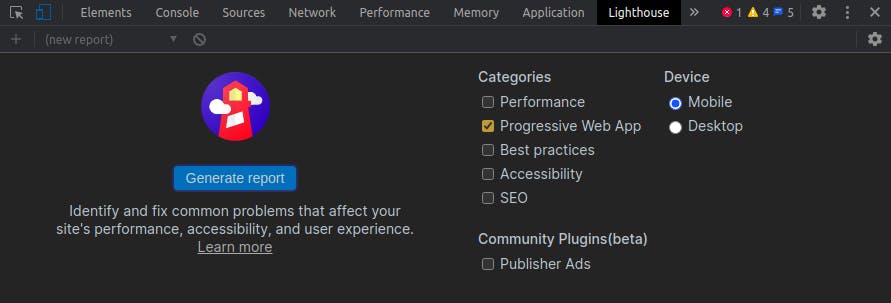
- Generate the report for your web application.
You will most probably end up with a report like this (maybe different for you, but don't worry) -
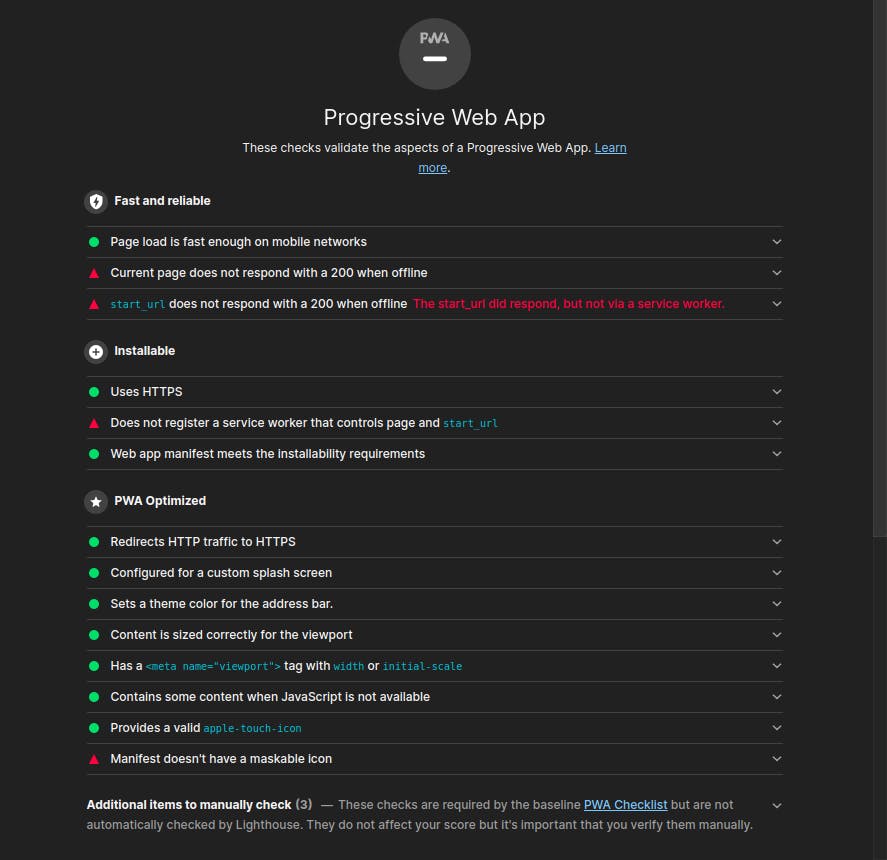
Now we need to work on turning those red triangles into the green circles.
Here are the steps to follow -
- Create
serviceworker.jsfile in thepublicdirectory.
const CACHE_NAME = "version-1";
const urlsToCache = [ 'index.html', 'offline.html' ];

const self = this;

// Install SW
self.addEventListener('install', (event) => {
    event.waitUntil(
        caches.open(CACHE_NAME)
            .then((cache) => {
                console.log('Opened cache');

                return cache.addAll(urlsToCache);
            })
    )
});

// Listen for requests
self.addEventListener('fetch', (event) => {
    event.respondWith(
        caches.match(event.request)
            .then(() => {
                return fetch(event.request)
                    .catch(() => caches.match('offline.html'))
            })
    )
});

// Activate the SW
self.addEventListener('activate', (event) => {
    const cacheWhitelist = [];
    cacheWhitelist.push(CACHE_NAME);

    event.waitUntil(
        caches.keys().then((cacheNames) => Promise.all(
            cacheNames.map((cacheName) => {
                if(!cacheWhitelist.includes(cacheName)) {
                    return caches.delete(cacheName);
                }
            })
        ))

    )
});
- Create a
offline.htmlfile in thepublicdirectory - this will be the screen that you want to display when there is no network connection. - In the
index.html, add the script to register theserviceworker
    <script>
      if('serviceWorker' in navigator) {
          window.addEventListener('load', () => {
              navigator.serviceWorker.register('./serviceworker.js')
                  .then((reg) => console.log('Success: ', reg.scope))
                  .catch((err) => console.log('Failure: ', err));
          })
      }
  </script>
In the index.js in src change serviceWorker.unregister() to serviceWorker.register()
In
manifest.jsonin thepublicdirectory, be sure to add these{ "name": "APPLICATION_NAME", "icons": [ { "src": "/icons/icon.png", "type": "image/png", "sizes": "1024x1024", "purpose": "any maskable" } ], "start_url": ".", "short_name": "APPLICATION_SHORT_NAME", "display": "standalone", "theme_color": "#000000", "background_color": "#ffffff" }and make sure that the logo you are using is at least 1024px * 1024px as it will be appearing as the app icon when downloaded on various devices and will not be installable otherwise. av
- In
index.htmlwrite thehtmlfor the component you would like to be loaded first - the Navbar in most cases, and also add the CSS for it in-, between thestyletags. Be careful not to delete the div with theid=root
And that's all it 🎉
You have successfully converted a React Web App to a Progressive Web App.